Small Pantry Organization That Actually Works: $143 System for Walk-In Pantries
See how I transformed my chaotic pantry into an organized system in one weekend. Exact products used, step-by-step process, and real before/after photos.
5/8/20246 min read
My pantry was embarrassing. Expired food hiding in the back, half-empty boxes taking up space, and I could never find what I needed when cooking. I'd open the door, see chaos, and immediately close it again.
One weekend I finally tackled it. Using $143 worth of organization products and 4 hours of work, I transformed my pantry from disaster zone to functional space. Here's exactly how I did it and what products actually made the difference.
Want my free Ultimate Home Organization Checklist? Click the "Get Started" button at the bottom to get instant access!
My Pantry Problems (You Probably Have These Too)
My Small Walk-In Pantry Reality
My pantry is a typical small walk-in: 5 feet deep, 3.5 feet wide, with shelves on three sides. It's technically a "walk-in" but really more of a "squeeze-in."
Small walk-in pantries have specific challenges:
Deep shelves = items disappear into black holes
Limited width = can't spread out
Must maximize vertical space
Every single inch needs to work efficiently
The good news? This system was designed for exactly this type of space. Compact pantries actually organize MORE efficiently than large ones when you have the right products.
Before I organized:
Couldn't see what food I owned (bought duplicates constantly)
Items fell out every time I opened the door
Expired food lurked in the back corners
Tall items blocked short items
Chip bags and cereal boxes took up way too much space
No system - just shoving items wherever they fit
Sound familiar? This is what standard pantries become without intentional organization.
The Products That Changed Everything
Here's what I bought and why each one earned its spot:
Core Storage System
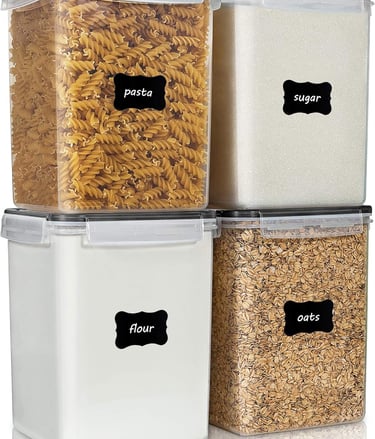
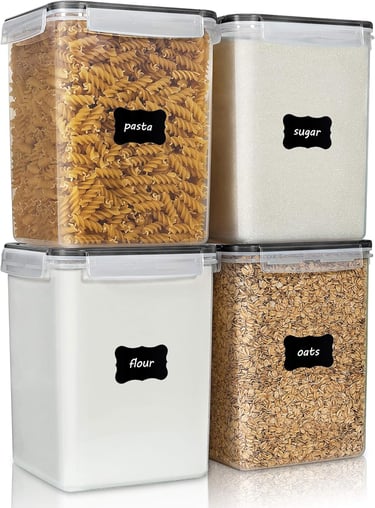
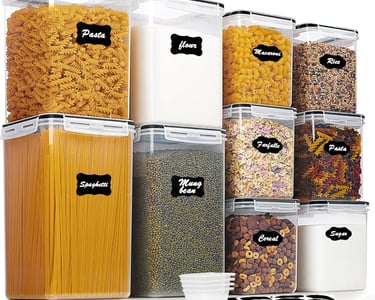
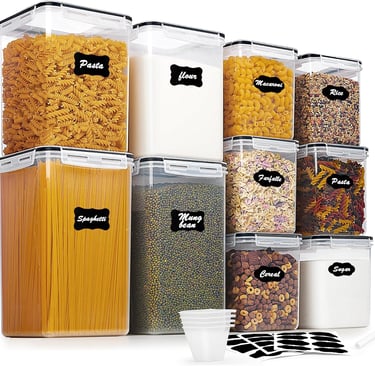
1. Large Clear Airtight Containers (Set of 10)
Cost: $40-50
These are for bulk staples: flour, sugar, rice, pasta, oats, etc. Transferring everything from original packaging into uniform containers was the single biggest game changer.
Why it works: You can see exactly how much you have left. Everything stacks uniformly. Food stays fresh longer. The pantry instantly looks more organized.
Sizes I use:
4 large containers (flour, sugar, rice, pasta)
4 medium containers (oats, quinoa, lentils, beans)
2 small containers (baking soda, cornstarch)
2. Stackable Clear Bins (Various Sizes)
Cost: $35-45 for mixed set
These group similar items together so everything has a designated home.
My bin categories:
Breakfast items (oatmeal packets, granola bars)
Snacks (chips, crackers, popcorn)
Baking supplies (chocolate chips, vanilla, spices)
Canned goods (soups, beans, tomatoes)
International foods (Asian sauces, taco supplies)
Why it works: Pull out the entire bin instead of digging through loose items. Everything visible at a glance.
3. Lazy Susan Turntables (Set of 2)
Cost: $15-20
One on each shelf for oils, vinegars, sauces, and condiments.
Why it works: Deep pantries waste corner space. Turntables make everything accessible with a spin. No more knocking over 5 bottles to reach the one in back.
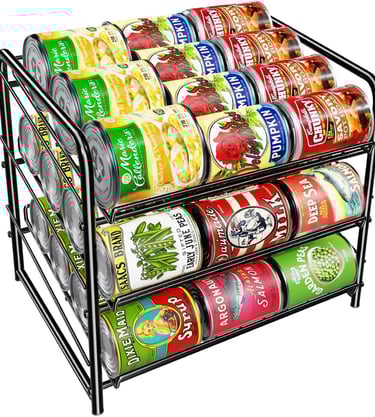
4. Can Organizer Rack
Cost: $18-25
This tiered rack creates stadium seating for canned goods so you can see every label.
Why it works: No more digging through stacks. See every can you own. First in, first out rotation prevents expiration.
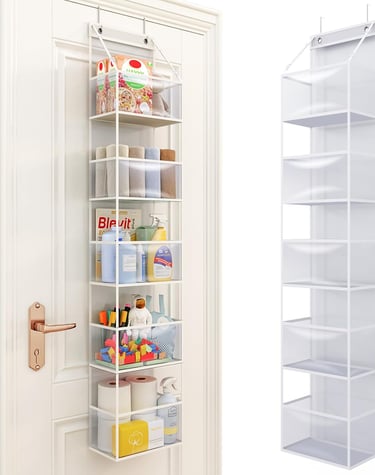
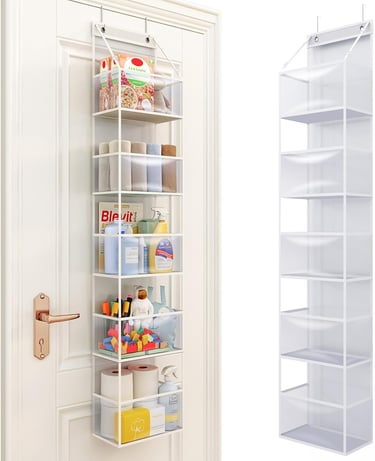
5. Over-the-Door Organizer
Cost: $12-35
Mounted on inside of pantry door for small items that get lost: spice packets, sauce mixes, tea bags, small snacks.
Why it works: Uses dead space and keeps small items visible instead of buried.
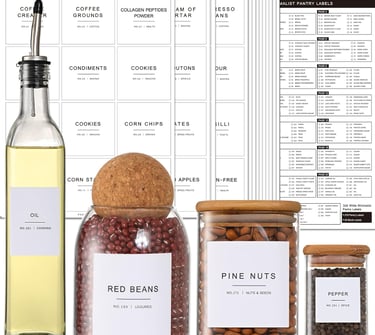
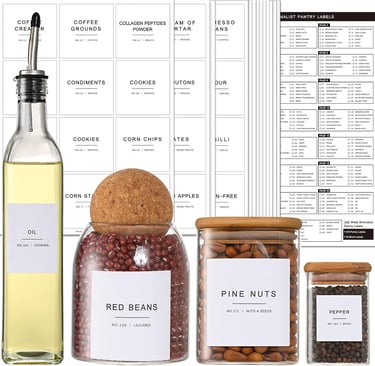
Labeling & Organization
6. Label Maker
Cost: $20-30
Every container, every bin gets labeled. Non-negotiable.
Why it works: Your family will actually put things back in the right place. Labels create accountability and maintain the system.
7. Chip Clips (Set of 10)
Cost: $8-12
For bags that don't fit in containers: chips, tortillas, bread.
Why it works: Keeps food fresh and bags upright. Cheap but essential.
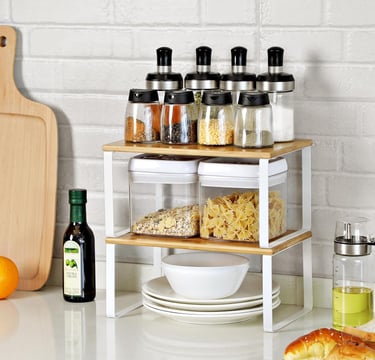
8. Shelf Risers (Set of 2)
Cost: $15-25
Create two levels on deep shelves so you can see items in the back.
Why it works: Doubles your effective shelf space. Everything visible.
Step-by-Step: How I Did It
Phase 1: Empty Everything (1 hour)
Remove EVERYTHING from the pantry
Check expiration dates - be ruthless, toss expired items
Wipe down all shelves
Group items by category on your counter:
Baking supplies
Breakfast items
Canned goods
Snacks
Pasta/grains
Oils/condiments
Misc
I threw away: 12 expired items I forgot I owned. Total waste of money - organization prevents this.
Phase 2: Transfer to Containers (1.5 hours)
Pour bulk items (flour, sugar, rice, pasta) into large airtight containers
Label each container clearly
Recycle/trash all the original packaging
Pro tip: Keep a small scoop in flour and sugar containers. Makes baking so much easier.
Phase 3: Strategic Placement (1 hour)
Bottom shelf (easiest to reach):
Daily use items
Snack bins
Breakfast containers
Middle shelves:
Baking containers
Canned good organizer
Lazy Susans with oils/sauces
Top shelf:
Less frequently used items
Backup/bulk purchases
Special occasion items
Door organizer:
Spice packets
Tea bags
Small sauce packets
Seasoning mixes
Phase 4: Maintenance System (30 minutes weekly)
Weekly reset:
Check expiration dates
Wipe any spills
Move items forward (first in, first out)
Add items to grocery list when containers get low
Monthly deep clean:
Empty one shelf completely
Wipe down thoroughly
Reorganize if needed
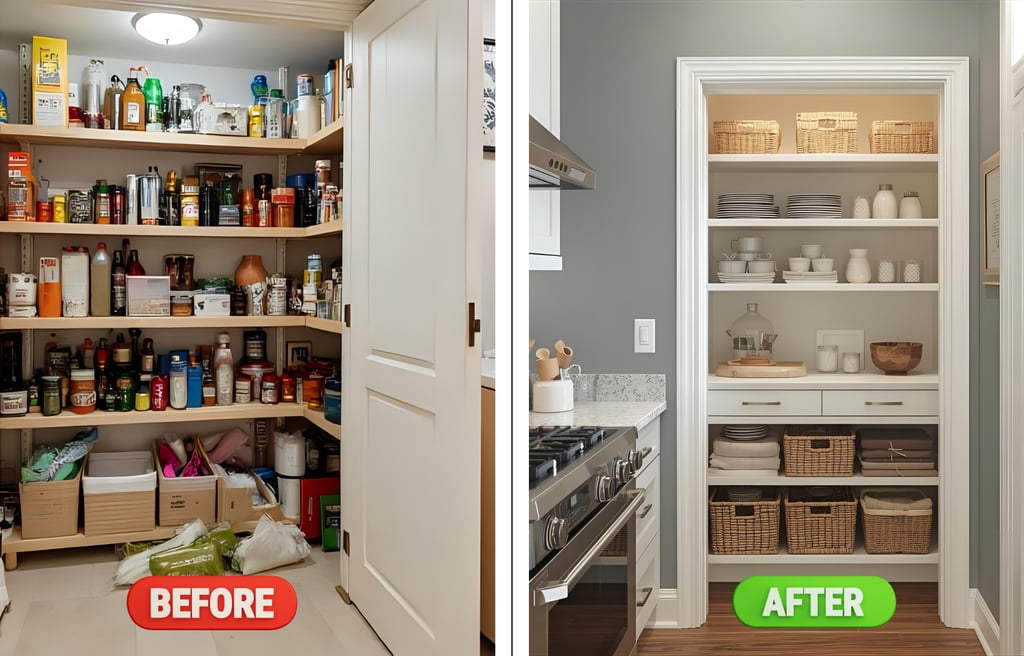
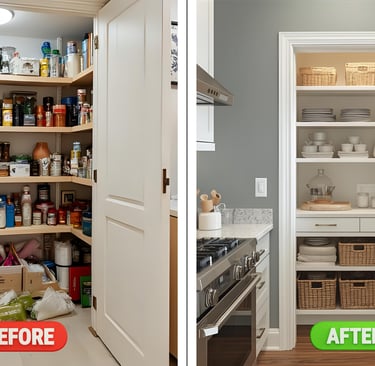
Before vs After Results
Before:
Could see maybe 40% of what I owned
Bought duplicate items 2-3 times per month
Food expired before I used it (wasting $30-40/month)
Cooking frustrating - couldn't find ingredients
Pantry organization lasted 2 days max
After (6 months later):
Can see 100% of inventory at a glance
Haven't bought a duplicate item in 6 months
Zero food waste from expiration
Cooking is faster - grab ingredients immediately
System maintains itself with 5 minutes weekly
Total investment: $143
Money saved in 6 months: $180+ (no more food waste, no duplicates)
Time saved per week: 20 minutes (no searching, faster meal prep)
Common Pantry Organization Questions
Q: Do I really need to transfer everything to containers?
For bulk staples (flour, sugar, rice, pasta) - yes, absolutely. It's the foundation of an organized pantry. For everything else, bins work fine to group items together.
Q: What if I have a small pantry?
This system actually works better in small pantries. Vertical stacking and bins maximize every inch. Focus on the containers and one Lazy Susan.
Q: How do I keep my family from messing it up?
Labels are key. When everything has a designated home and it's labeled, people naturally put things back. It's easier to maintain the system than fight it.
Q: Is this worth it for renters?
Yes. Everything I used is removable and non-permanent. Take it all with you when you move.
Q: What about odd-shaped items?
Those go in the "misc" bin or on door organizer. Not everything needs a fancy container - just a designated spot.
The Products I Regret Buying
Fancy glass containers: Beautiful but heavy and expensive. Clear plastic works just as well for 1/3 the cost.
Too many small containers: I initially bought 20 small containers thinking I'd portion everything. Used maybe 5. Start with large containers for staples.
Basket-style bins: Couldn't see what was in them. Switched to clear bins immediately.
Start Your Pantry Transformation
You don't need every product on this list to see results. Start with:
Large airtight containers for staples ($40-50)
Clear bins to group categories ($20-30)
Labels ($20-30)
That $80-110 investment will transform your pantry in one weekend.
The key isn't buying expensive products - it's creating a system where everything has a home and you can see what you own.
Ready to organize your entire home? Get your free Ultimate Home Organization Checklist by clicking "Get Started" at the bottom of this page!